Managing Purchase Orders
In this article:
Get Started: Configuring Your Purchase Order Settings
Understanding Your Purchase Orders Tab
Creating a Purchase Order from a Job
Creating a Purchase Order from the Purchase Orders Tab
Creating a Purchase Order from Pending Items
Receiving or Partially Receiving a Purchase Order
Managing Your Purchase Order Tax Types
Creating a Bill from a Purchase Order
What is a Purchase Order?
Purchase orders (POs) are used to order catalogue materials, services, and appliances for your jobs and work orders, and to top up your stock in inventory.
Easily create POs in Jobman and send to your suppliers. Track the status of your materials in Jobman, mark them as received, and generate a bill to pay your supplier.
See also:
Get Started: Configuring Your Purchase Order Settings
Before you get started creating purchase orders, take a minute to review your purchase order statuses. These are used to track the progress of a purchase order from "Created" to "Fully Received". The status of a PO determines what you can and cannot do with the PO.
Example: A PO in "Created" status cannot be received. It must be in "Ordered" or "Partially Received" status.
Your Jobman software comes with some default PO statuses, which can be viewed or edited in Settings > Inventory > Purchase Order Statuses:
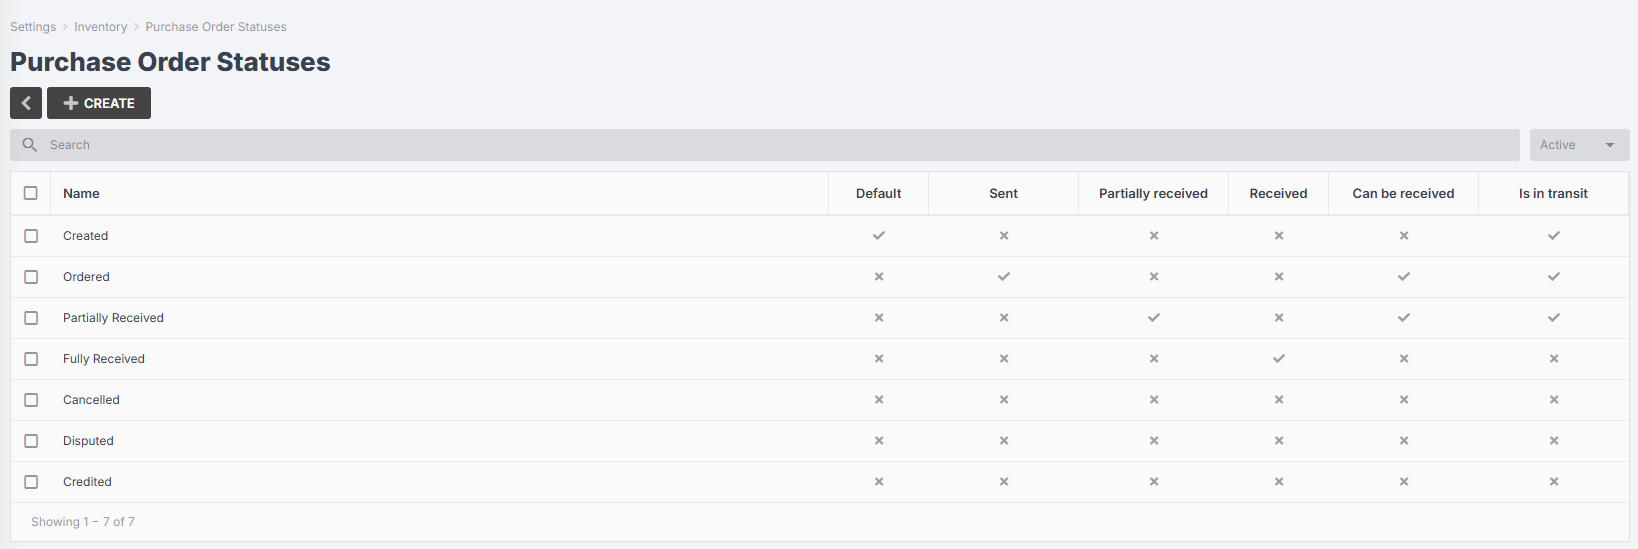
- Your "Created" status is set as default, meaning that any PO you create will automatically enter this status.
- Your "Ordered" status is sent, meaning that when you send a PO to your supplier, it will automatically enter this status.
- Any statuses marked Can be received will allow a PO in that status to be received or partially received.
- Any statuses marked In transit will allow materials in a PO in that status to count towards your minimum stock quantity (see below).
You can click on an existing PO status at any time to rename it, or alter its settings.
You can also click Create to make a new PO status.
Advanced Purchase Order Settings
- You can set minimum stock quantities and reorder quantities to allow Jobman to automatically order new stock when your inventory is low. (Read More)
- If you are paying for a Supplier Integration, you can enable direct purchase ordering for selected suppliers. (Read More - Hafele, Wilson & Bradley)
Understanding Your Purchase Orders Tab
From the User Menu Panel on the left, click on Purchase Orders. You will be redirected to the Purchase Orders tab, where you can get an overview of all your purchase orders created to date.
- Customise your display by clicking the arrow next to any of your column headers, and select/de-select the columns you want to see. Drag-and-drop your columns into any order you choose.
- Use the search bar or filters on the left to find any purchase order you want.
- Click into a purchase order to edit or send it. If you see the pencil icon next to a purchase order, this means it is currently being edited.

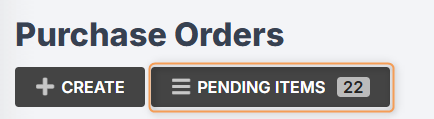
You can also click Pending Items to see job materials and low-stock materials that need to be ordered.
What are Pending Items?
Pending Items are materials that need to be ordered for a job, or low-stock inventory materials that need to be replenished.
A material, service, or appliance will be added to your Pending Items if:
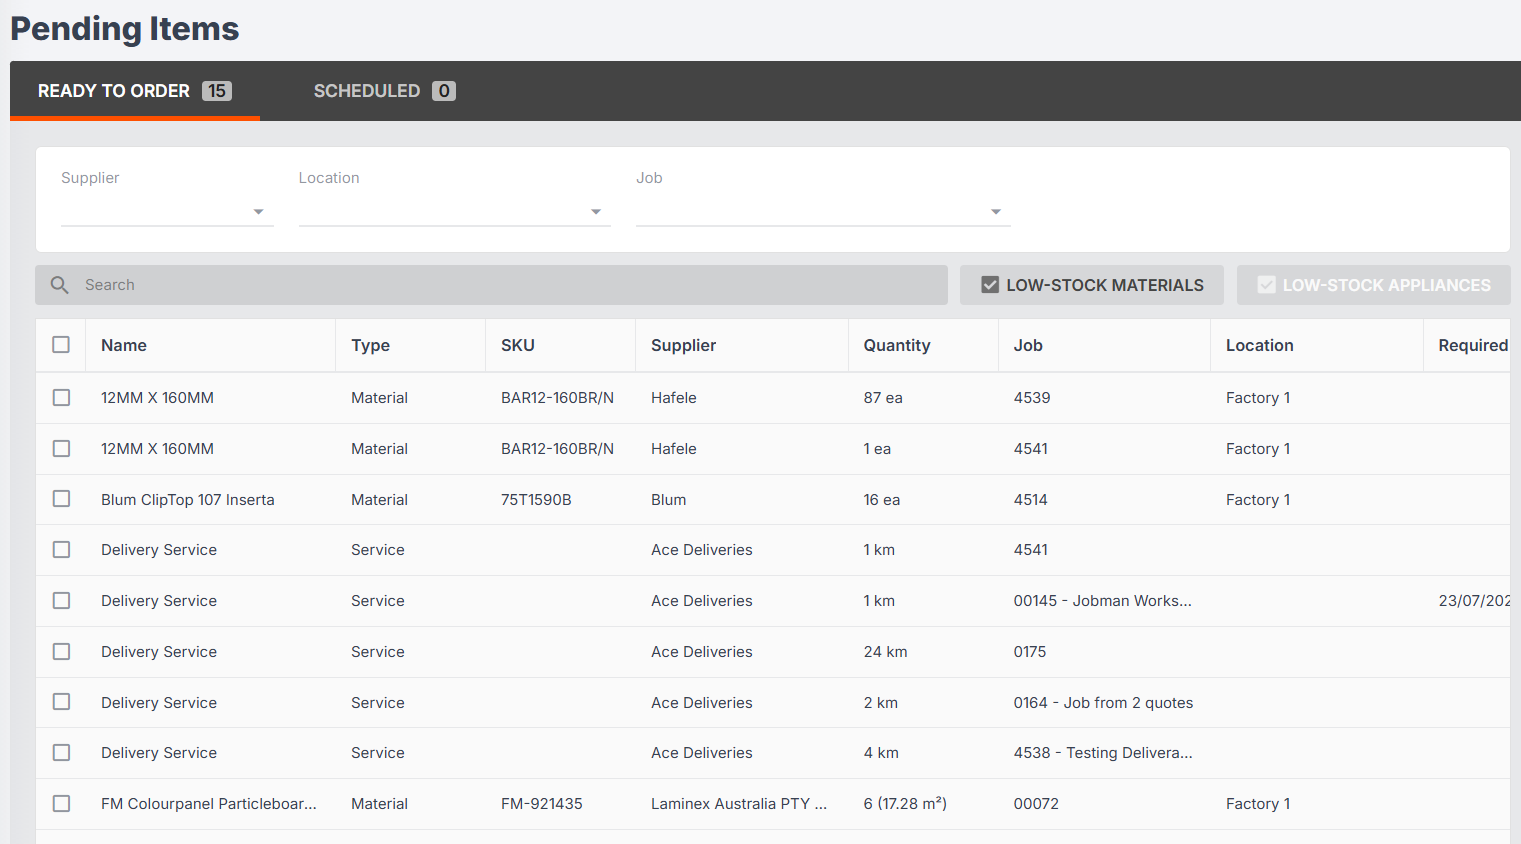
Your Pending Items tab looks like this:
- Use the drop-downs at the top to filter by Supplier, Location, and/or Job.
- Toggle Low-Stock Materials and Low-Stock Appliances to show/hide these.
- When you have filtered your materials by a specific supplier, you can click Create to generate a purchase order.
Note: You cannot create an individual purchase order for more than one supplier.
Creating a Purchase Order from a Job
Note: Purchase orders created from a job are called job purchase orders, and are identified by a yellow tag:

They can be viewed in your Job > Resources > Purchase Orders, as well as in your Purchase Orders tab.
-
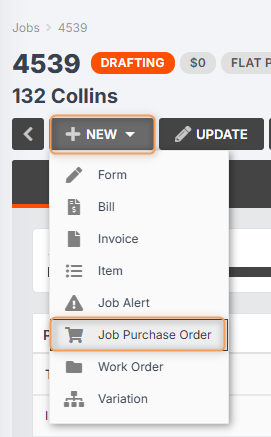
From the Jobs tab, click into your job, and click New > Job Purchase Order:
-
Select a supplier and location, and add a reference (optional). Tick Include pending items if you have already sourced materials to purchase order for this supplier inside this job.
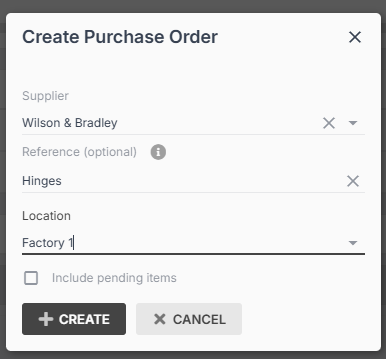
- Click Create.
-
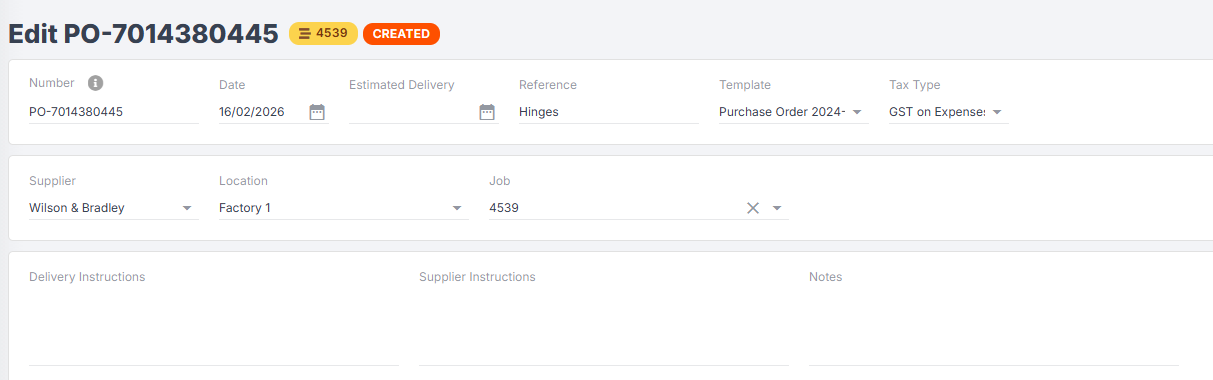
You will be redirected to a blank job purchase order. In the top fields, you can add/edit any of the following: Number, Date, Estimated Delivery, Reference, Template, Tax Type, Delivery Instructions, Supplier Instructions, Notes.
-
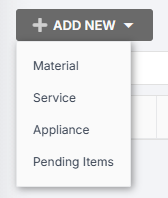
Click Add New to add a Material, Service, Appliance, or Pending Items:
If you select Pending Items, you will be redirected to your Pending Items grid, which will automatically filter for pending materials/appliances with the same supplier and job number:
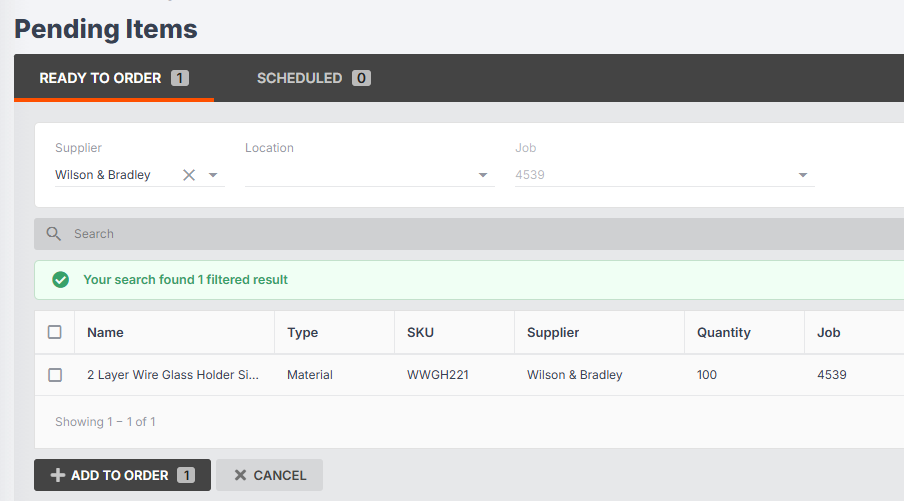
Click Add to Order and these will be added to your job PO.
-
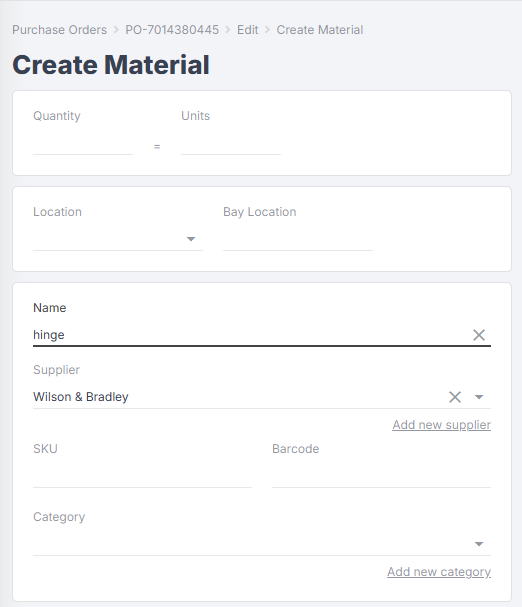
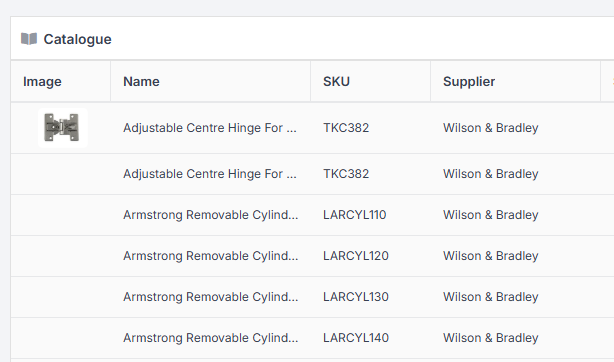
If you click Add New > Material/Service/Appliance, you will be redirected to the Create form. If you start to type in the Name field, suggestions from your catalogue will appear on the right:


-
You can select an option from the catalogue to autofill data:
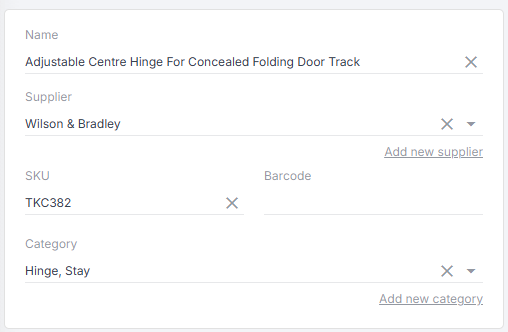
Or, if the material is not in your catalogue, you will need to fill out the fields manually. (Not all are required.)
-
Enter your quantity (the number of units will calculate automatically if the material exists in your catalogue):
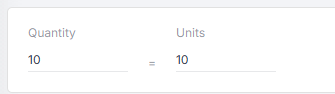
-
Enter your location (bay location is optional):
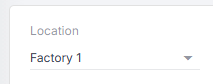
-
Click Create, or click the down arrow > And add another if you need to create multiple materials/services/appliances in a row:
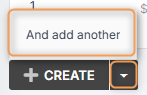
-
When you have added items to your PO, you can click into any of the following fields to edit: Name, Category, Quantity, Unit Price, Tax Type, Required By, Estimated Delivery:
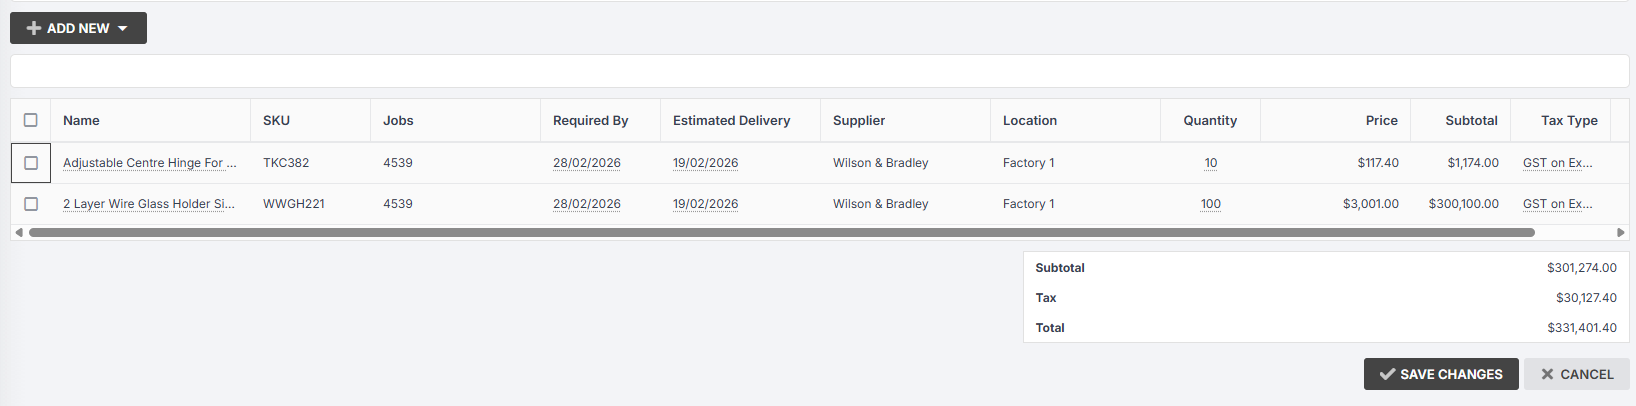
- Save Changes.


Your PO has now been created, and will remain in "Created" status until you send it to your supplier.
Creating a Purchase Order from the Purchase Orders Tab
If you want to create a PO for multiple jobs and/or stock items, you can do so from the Purchase Orders tab by following these steps:
-
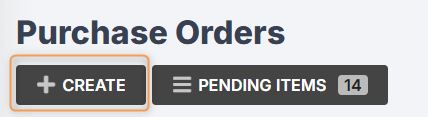
From the Purchase Orders tab, click Create:
-
Select your supplier and location, add a reference (optional) and click Create again:
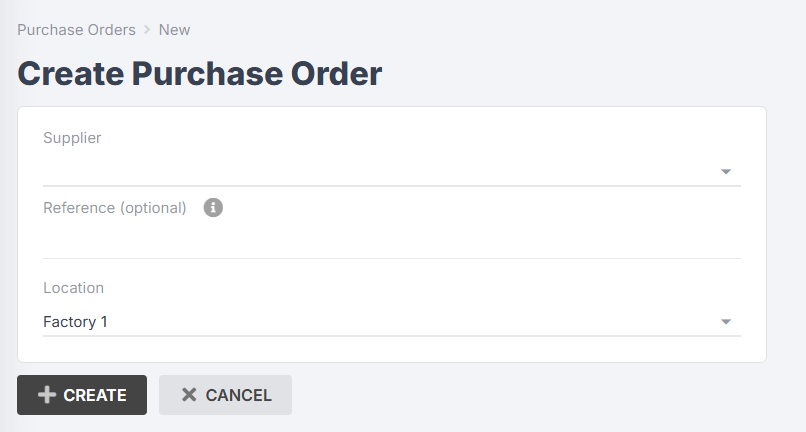
- You will be redirected to a blank purchase order.


See steps 4-12 in the section above for adding items and information to your PO.
The key difference between job purchase orders and general purchase orders is that you can add materials for multiple job assignments, or with no job assignment (e.g. for stock) to a general PO.
If you add pending items to your purchase order, they will be filtered by supplier, but not by job.
Creating a Purchase Order from Pending Items
Easily create a PO from your Pending Items grid by following these steps:
-
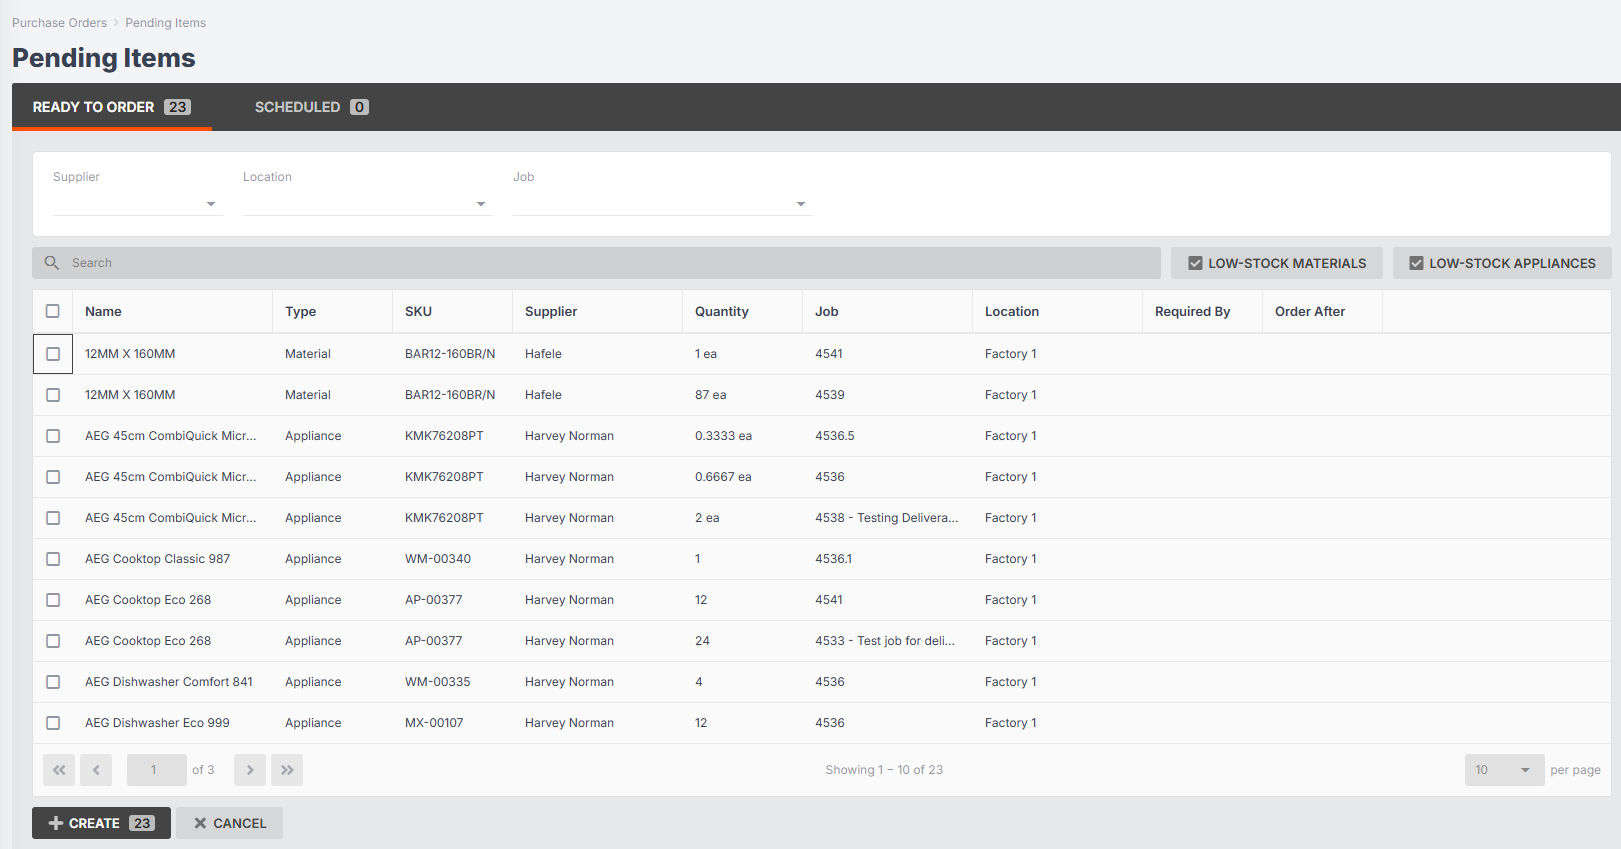
Navigate to Purchase Orders > Pending Items:
- Choose a supplier from the drop-down to filter your items. You can also filter by location or job (optional).
-
Once you have filtered your items, click Create:

- You will be redirected to your created purchase order. From here you can click Update to make further changes, or send to your supplier.


Recommended Process for Bulk Ordering Items from Suppliers
Jobman is designed so that purchase orders are created at the moment they are ready to be sent. Rather than create a purchase order at the beginning of the week, spend days adding to it, then send at the end of the week, our recommended process is:
- Set up your jobs, and add materials to them throughout the week (or as needed) - remember to click 'Source'!
- Once all jobs have materials added to them and you are ready to send a purchase order, you can then create a purchase order and add all pending items to it for that particular supplier.
- Jobman will automatically allocate the items in the purchase order to the specific jobs they are intended for.
- Once you've created the PO and added all pending items, you can also add stock items if desired.
How to Send a Purchase Order
Once you have created and finalised your PO, you can click Email to send it to your supplier.

A draft email will be generated using your Purchase Order Email template. Make any changes needed to the email, then click Preview > Send.
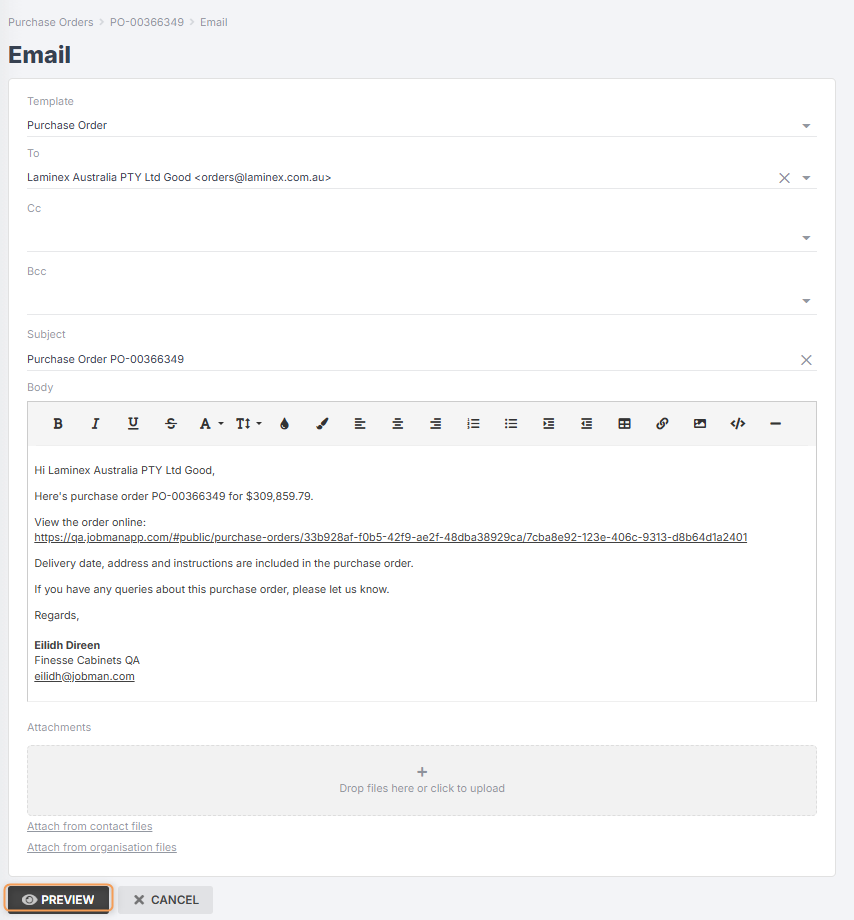
If you send your purchase order as an email, your PO status will automatically change to Ordered.
If you have purchased a Supplier Integration, you can send purchase orders directly to your supplier's system, without the email back and forth!
Learn More: Hafele, Wilson & Bradley
You can also export your purchase order to PDF or CSV, and manually attach to an email outside Jobman.

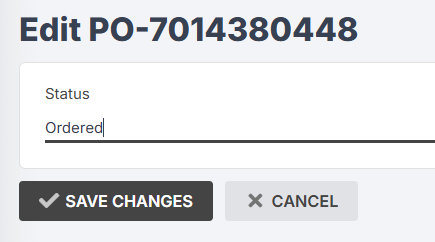
If you do this, you will need to manually change your PO status to Ordered. Do this by clicking the orange status tag at the top, and select the new status from the drop-down.
Receiving or Partially Receiving a Purchase Order
Once your ordered items have arrived at your location, you can mark them as received or partially received in Jobman.
Important: If you need to update the pricing on your ordered material(s) once they have arrived, you should do this before receiving them in Jobman.
This is because when your materials are added to Job > Resources > Items and sourced to purchase order, the cost of the materials is added to your Job Cost report.
If the materials arrive and the supplier has updated the pricing, you need to update the pricing in your PO first, then receive it, and the updated costs will flow into your job(s) and your Job Cost report.
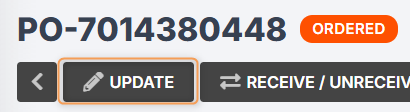
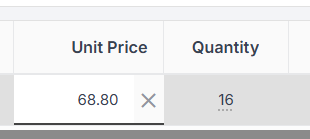
To update your PO pricing, simply click into the PO, and click Update:
Then click into the Unit Price and/or Quantity column for any material, and type in the new amount. You should see your price subtotal and total recalculate.
To fully or partially receive a purchase order, follow these steps:
- From the User Menu Panel, navigate to Purchase Orders.
- Click into the purchase order you want to receive.
-
Click Receive / Unreceive. If you cannot see the Receive / Unreceive button, you need to make sure that the purchase order is in a status that can be received.

-
To fully receive the purchase order: Make sure you are in the Receive tab. Check that the quantity of items received matches the quantity of items ordered, then click Receive.

-
To partially receive the purchase order: Make sure you are in the Receive tab. Click into the Quantity column to edit the quantity of items received, then click Receive.


After you click Receive, your purchase order status will automatically update to either Partially Received or Fully Received.
Please Note: You cannot receive a purchase order just by changing the purchase order status to Partially/Fully Received.
Splitting a Purchase Order
Splitting purchase orders can be useful if certain items are going to be received across different months, or if you have a large purchase order that you want to split across multiple jobs.
To split a purchase order, follow these steps:
- From the User Menu Panel, navigate to Purchase Orders.
- Click into the purchase order you want to split.
-
Click Split:

-
Click on the Quantity column to edit the quantity of items you want to allocate to the new partial PO. (The remainder will stay allocated to the originating PO.)

- Click Split again.


You'll be redirected to the new partial purchase order, which will automatically be assigned a new PO number. The new PO number will be the same as that of the originating PO, followed by a second number which corresponds to the number of times you have split the PO.
Example: If you split PO-0001, you will have PO-0001 and PO-0001.1.
Unreceiving a Purchase Order
If your PO is in the status Fully Received or Partially Received, and some or all of the PO items have been marked "received" by mistake, you can easily undo this by clicking into the PO and following these steps:
-
Click Receive / Unreceive:

-
Make sure you are in the Unreceive tab. Use the checkboxes or type in the Quantity cells to enter the materials you want to unreceive, then click Unreceive:


Managing Your Purchase Order Tax Types
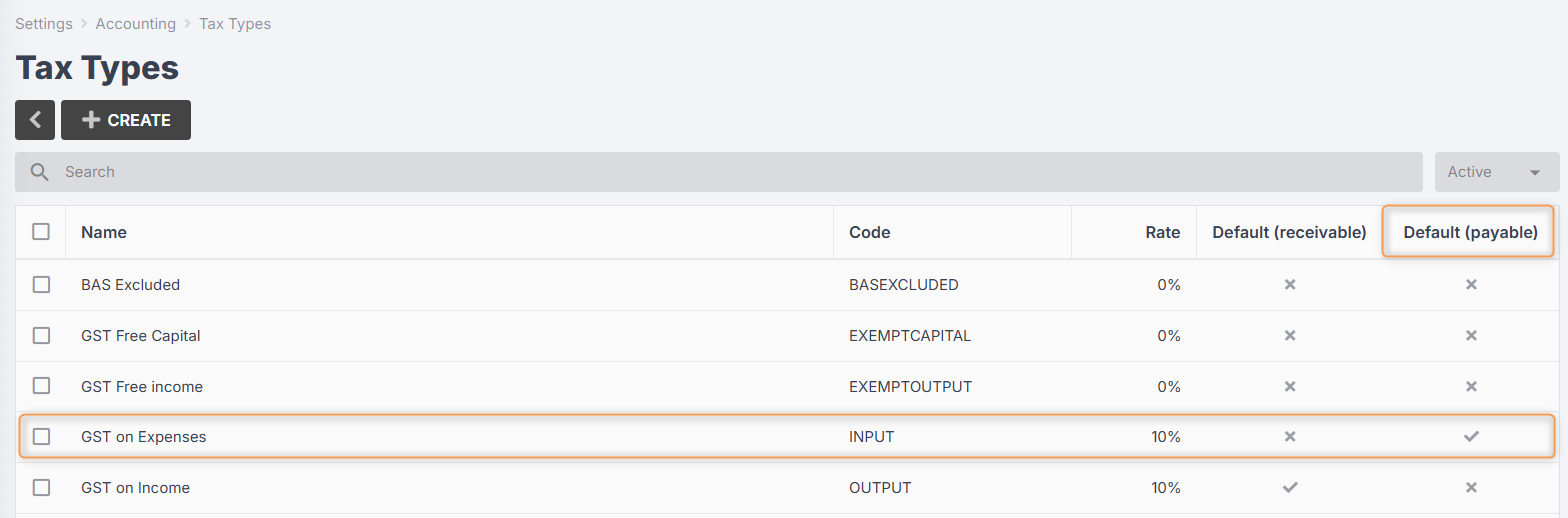
When you create a purchase order, it will have your default payable tax type applied to it.
To view your default payable tax type, go to Settings > Accounting > Tax Types:
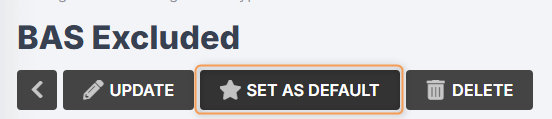
You can change this if needed by clicking into a tax type and clicking Set as Default:
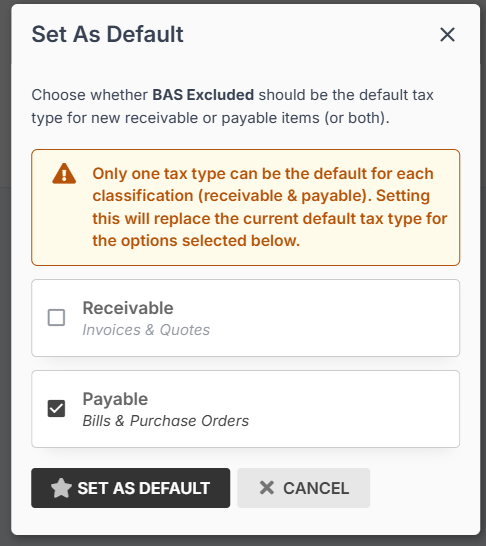
Select Payable and click Set as Default again:
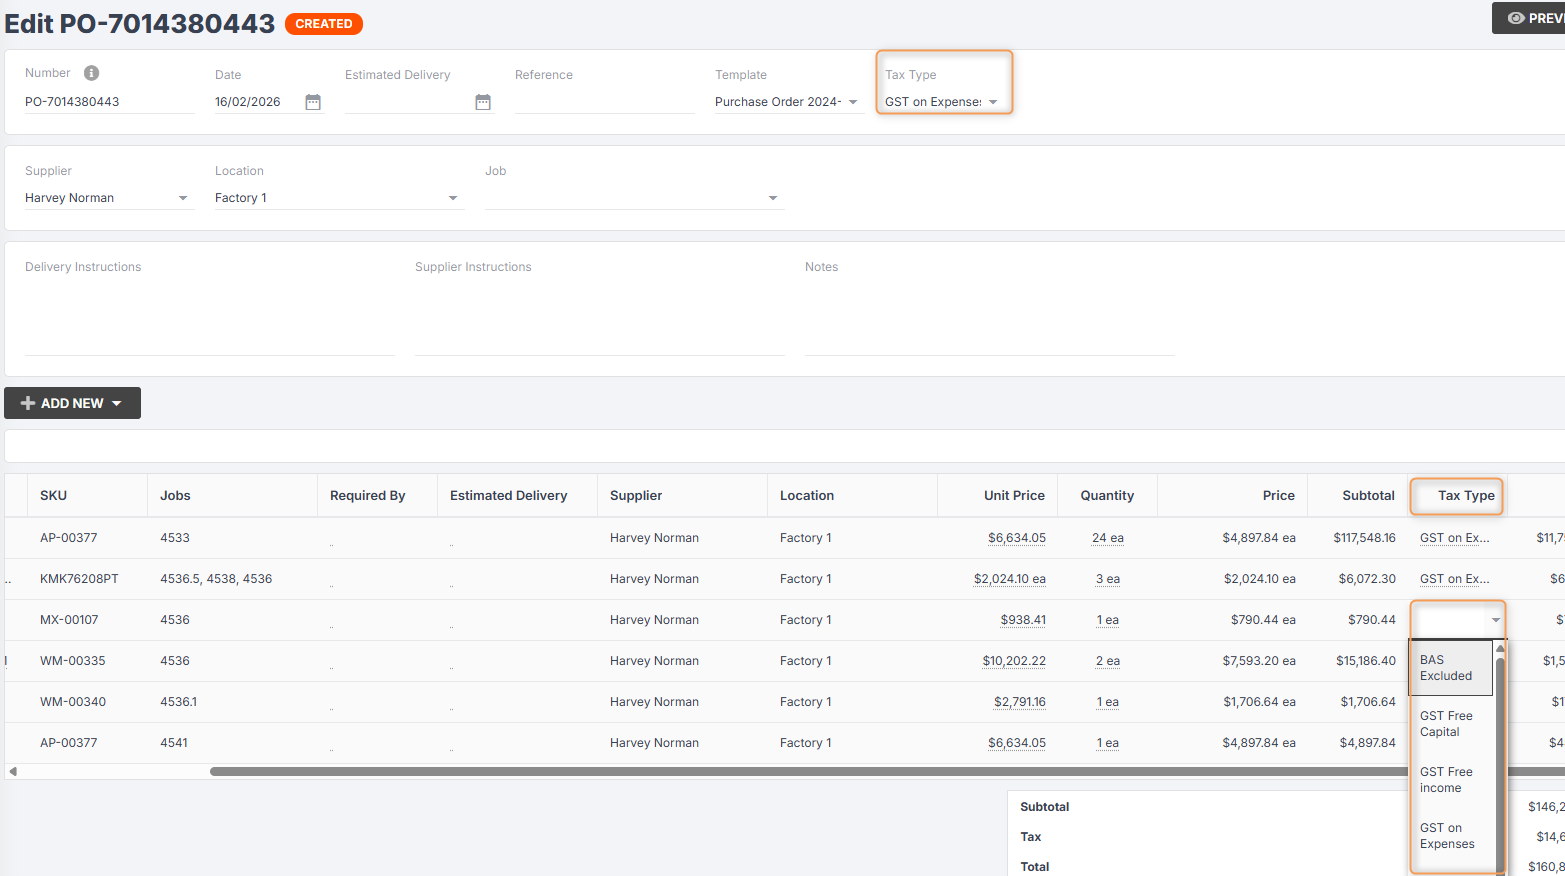
When you are editing a PO, however, you can click Tax Type at the top to change the tax type for the entire PO, or click into the Tax Type column for any individual item to set a specific tax type for that item:
You can also set up invoice item types and apply them to certain catalogue categories so that materials in a given category always have a particular invoice item type and tax type applied to them.
Learn More: Catalogue Settings (Categories), Invoice Item Types
Creating a Bill from a Purchase Order
Once you have created and finalised your PO, you can generate a bill which you can sync to your accounting software and pay to your supplier.
To create a bill from a PO, follow these steps:
-
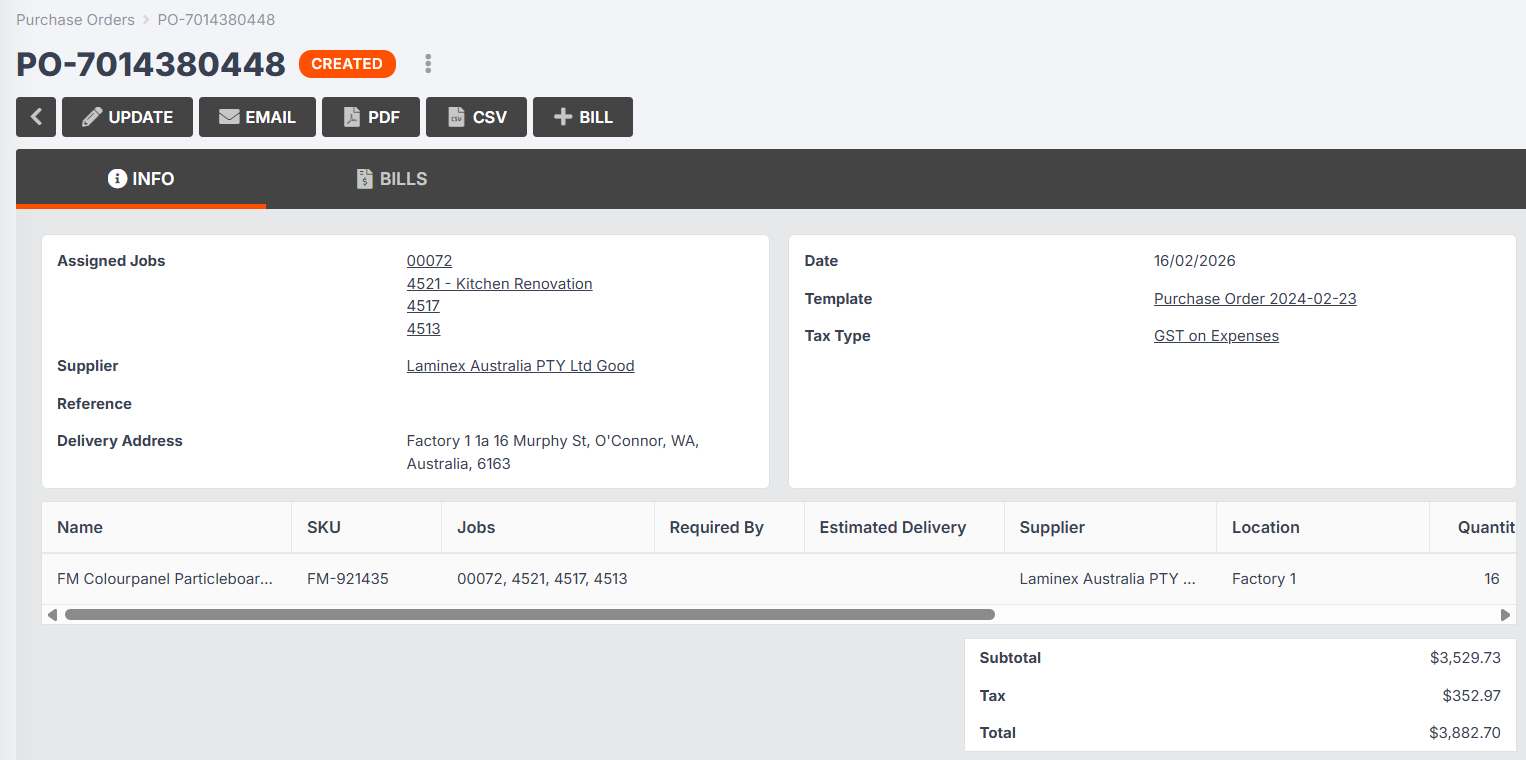
At the top of your PO, click Bill:

-
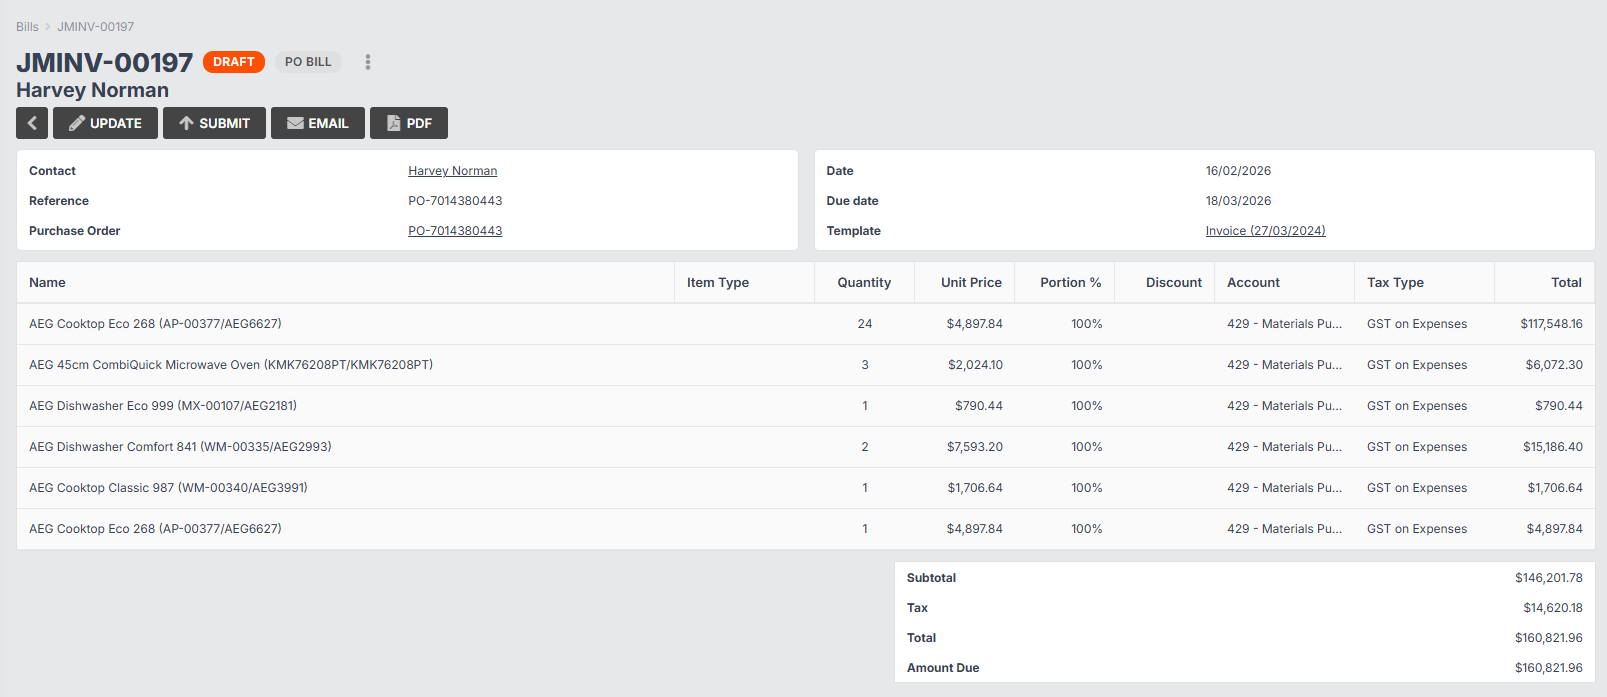
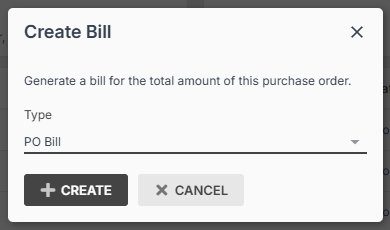
Select PO Bill from the drop-down, then click Create:
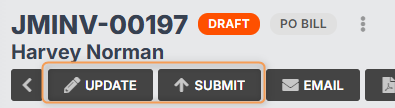
- You will be redirected to your draft bill. Click Update if you need to make any changes (e.g. to amounts, tax types, etc.), then click Submit to sync to your accounting software for payment.