How to Connect Your CAD/CAM Software
Connect your CAD/CAM software to Jobman and automate your quoting. Import your products lists and materials, reports and summaries into your jobs!
In this article:
List of Supported CAD/CAM Packages
Connecting Your CAD/CAM Software
Import Products from Your CAD/CAM Software into a Quote
Import Materials from Your CAD/CAM Software into a Job
Videos:
CAD/CAM - General Integrations
List of Supported CAD/CAM Packages
| Auto Kitchen | Cabinet Vision | Cab Master |
| Microvellum | Mozaik | Winner Flex |
| 2020 Design | goCabinets |
|
Note: CAD/CAM integration is an optional extra and must be purchased separately. To purchase this integration, see Updating your Subscription.
Scroll down to the bottom of this article to watch our software-specific help videos on importing data from your CAD/CAM package into your Jobman software.
Connecting your CAD/CAM software
- From the User Menu Panel, go to Settings > Integrations
- Choose your CAD/CAM software from the list.
- Click Connect to [Software Name].
- Follow the prompts.
Once connected, this will display as shown:

Import Products from Your CAD/CAM Software into a Quote
Easily import products from your CAD/CAM software into an existing quote.
For new quotes, first create a quote and then click Add New > Import and proceed from Step 4 below.
What file type should I use?
- Cabinet Vision: ORDX file
- Mozaik: .db file
- Cab Master: CSV file
- Microvellum: you will need a custom report configured for Jobman. Learn More
- From the User Menu Panel, navigate to Quotes.
- Click into your chosen quote.
- Click Update > Add New > Import.
- Choose your CAD/CAM software from the Driver drop-down menu.
- Choose the quote section you want to import to.
- Drag-and-drop or click to upload your file.
- Click Import to begin the upload. When it has finished, click Import again.
-
You will see an Import Items window where you can assign an action to be performed for each item: Create, Update, or Ignore.
Import Items: Components and Actions
Components - Refers to the number of products or line items that will be added to your quote.
Create - Add these as new items into your quote.
Update - Update any pre-existing quote items.
Ignore - No adjustments will be made to your quote.
Advanced Options: To replace the existing components that are in your quote, click the checkbox for Replace existing components.
- When you have assigned an action to each item, click Import again.
|
|

|

|

|

|

|

Now that you've imported your products and components, you can click to open and see the components that have come through.
Highlighted below in red: Product names/SKUs that are identical in the CAD/CAM software and in Jobman.
Highlighted below in blue: Product listed as a line item only, because this product name/SKU exists in the CAD/CAM software but not in Jobman.
For product names that match in your CAD/CAM and Jobman software:
- The product style will be factored into the quote price.
- If your products have been set up with labour times, this will also transfer to the quote.

Import Materials from Your CAD/CAM Software into a Job
What file type should I use?
- Cabinet Vision: use JMSync to upload data directly into Jobman. Learn More
- Mozaik: .db file
- Cab Master: CSV file
- Microvellum: you will need a custom report configured for Jobman. Learn More
- From the User Menu Panel, navigate to Jobs.
- Click into your chosen job.
- Click Resources > Materials > Import.
- Choose your CAD/CAM software from the Driver drop-down menu.
- Drag-and-drop or click to upload your file.
- Click Import to begin the upload.
- If you have a job item set up, you can assign your materials to it using the drop-down menu.
- Click Import again.
|
|
|


Advanced Option: Use Replace existing materials to replace any current job materials with your imported materials.
Important: The items in the import file must have identical SKUs to the corresponding items in your Jobman catalogue. If some of your items don't match, you will receive an error message as shown below. To fix this, you will need to add or update your catalogue materials with the correct SKU. You can then complete your import.

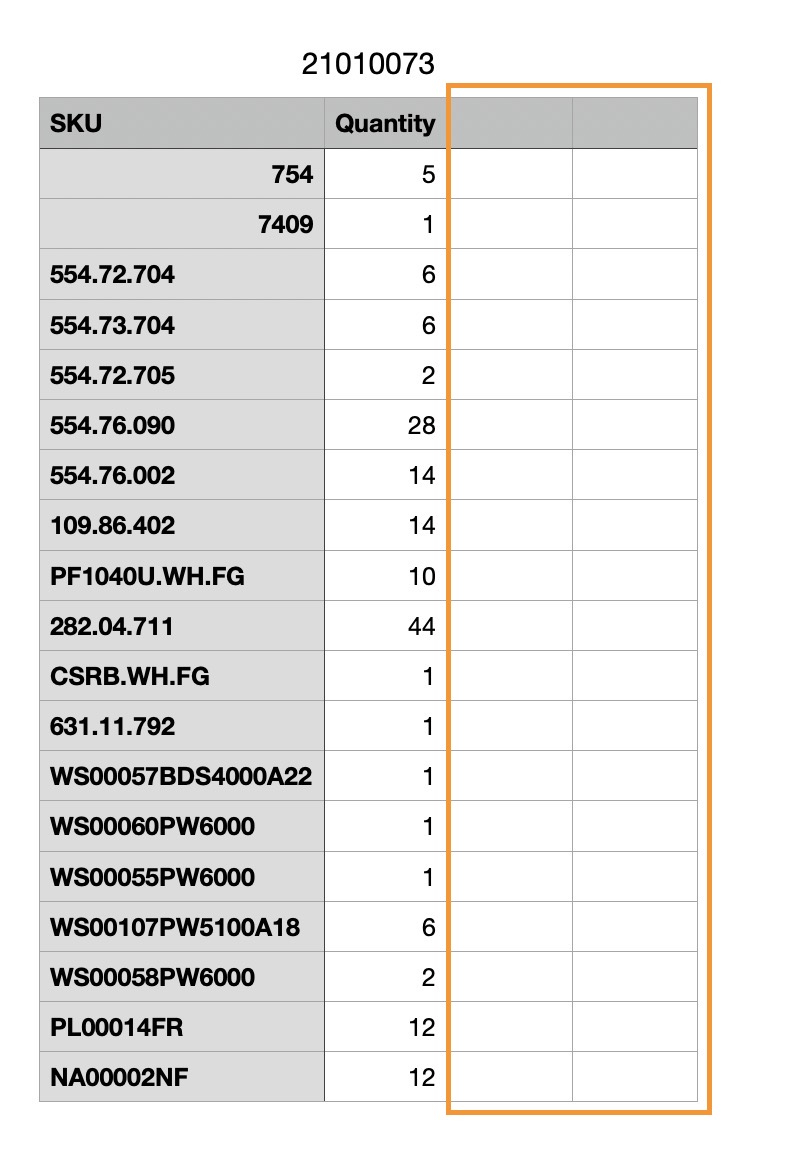
You must also make sure that the file you are importing does not have any blank rows or columns in it, or you will receive an error message.
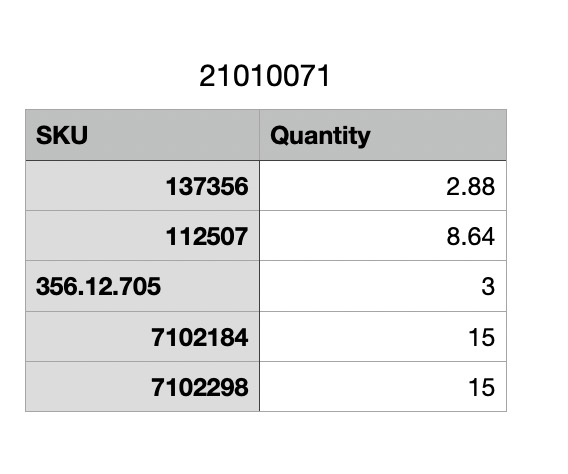
Correctly formatted CSV:
Incorrectly formatted CSV:

Once you've completed your import, use Source All to assign your materials. A pop-up will appear for you to choose the source location. For any items requiring a purchase order, there are options to add dates for Order After and/or Required By.