Create PDF Headers and Footers for Jobman Templates
Easily create and apply PDF headers and footers to your templates for Jobman quotes, forms, invoices, and more!
In this article:
Creating Header and Footer Templates
Applying Headers and Footers to Existing Templates
Creating Header and Footer Templates
Please Note: PDF headers and footers cannot support images, e.g. logos, etc.
To create a header template, follow these steps:
-
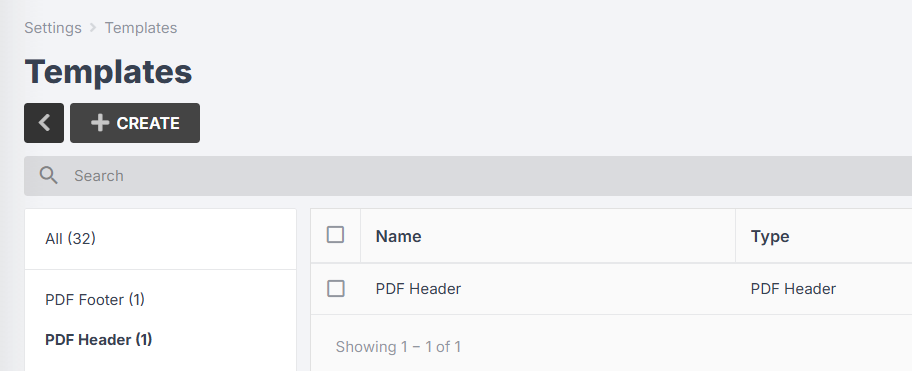
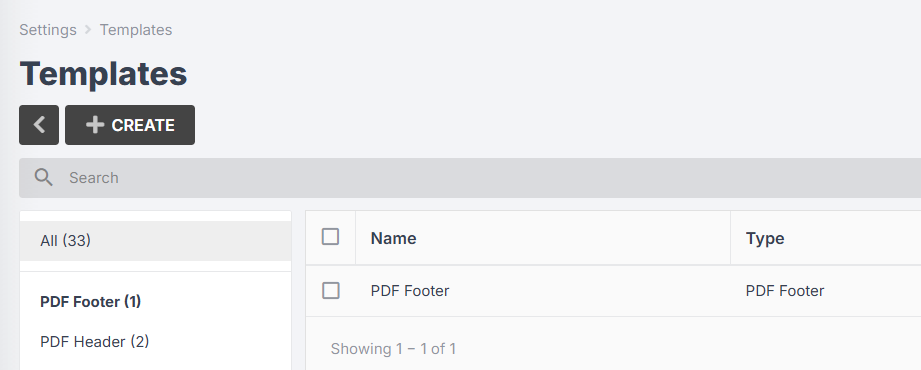
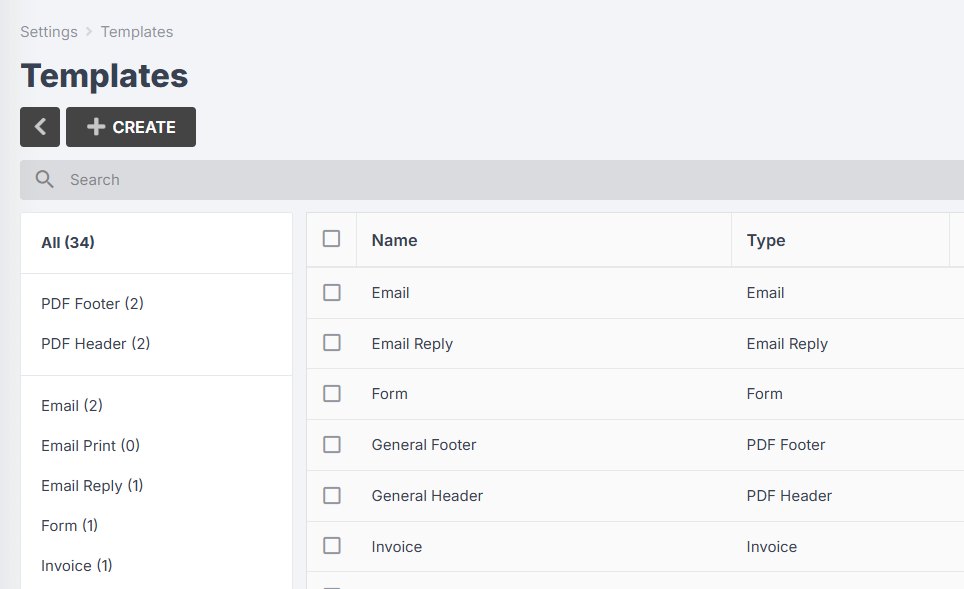
From the User Menu Panel, navigate to Settings > Templates:
-
Click Create:

-
Enter a name for your template, e.g. "General Header", and select PDF Header from the drop-downs.
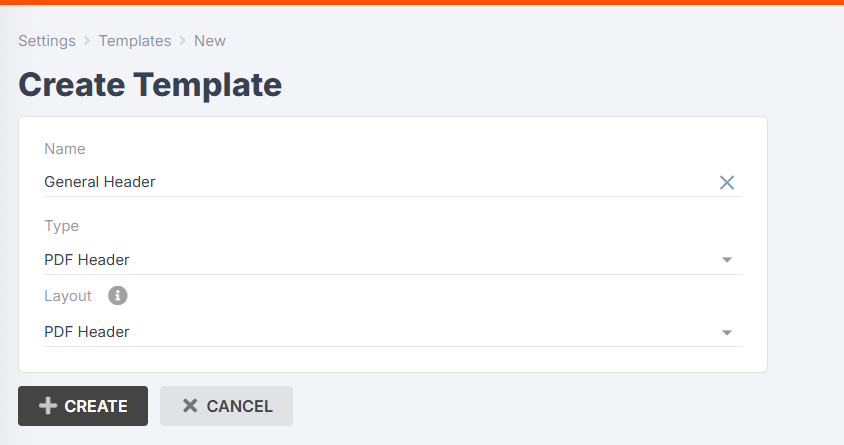
- Click Create again.
-
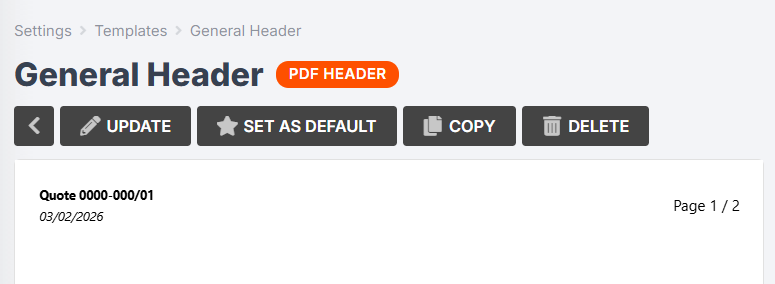
A preview of your header template will appear. Click Update:
-
The default header template looks like this:
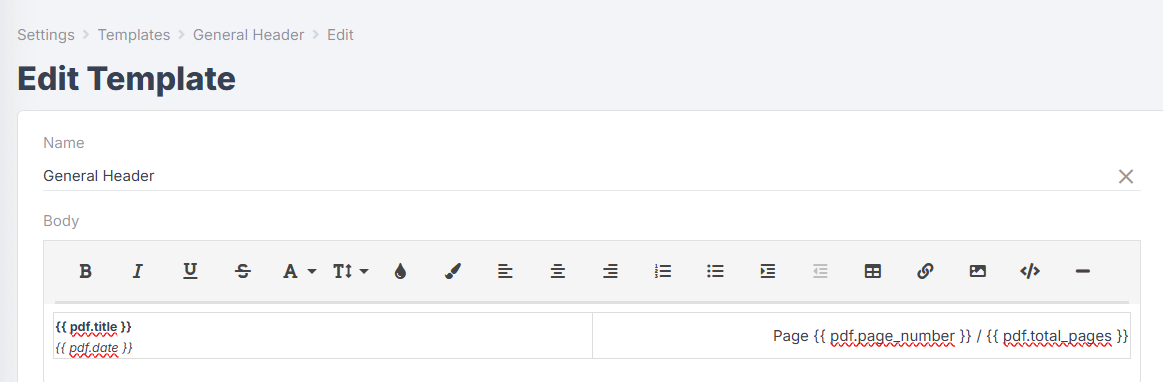
{{ pdf.title }} will autofill differently depending on the type of document. If applied to a quote or invoice, for example, it will use the quote/invoice number. If applied to your target calendar, it will show the date range.
{{ pdf.date }} will autofill with the date the PDF is generated.
{{ pdf.page_number }} will show the current page number, and {{ pdf.total_pages }} will show the total number of pages of your document.
-
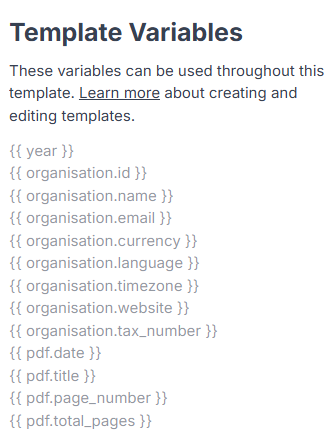
You can customise your PDF header further with any of the following variables:
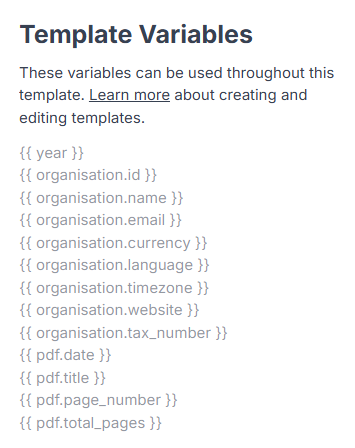


Please note: As PDF headers and footers are intended to be used across a variety of different templates (e.g. quotes, invoices, forms, item specification forms), they currently cannot contain variables that are specific to a certain template, e.g. {{ quote.number }}.
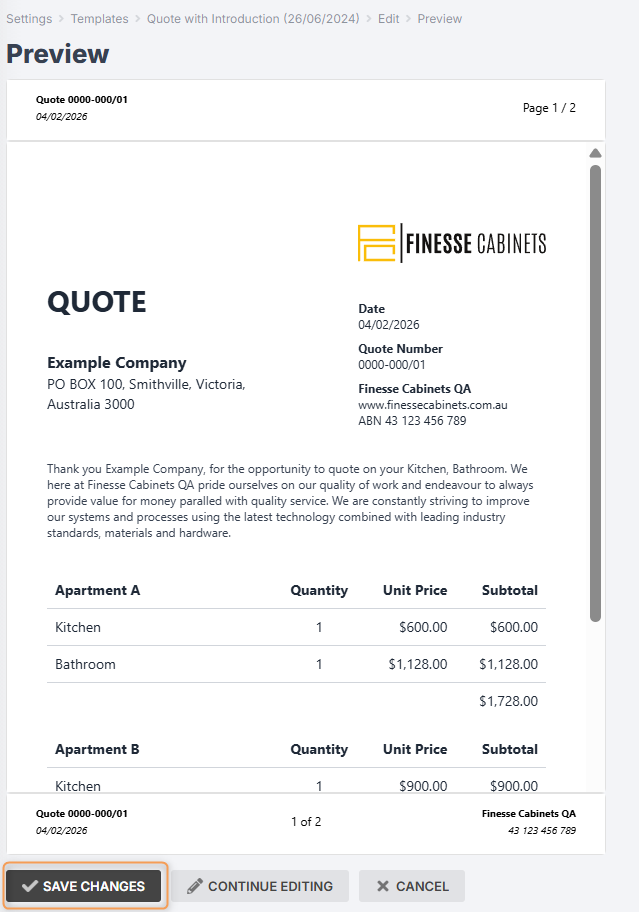
- Once you are happy with your template, click Preview, then Save Changes.
Now you can apply your PDF header to one of your templates! See Applying Headers and Footers to Existing Templates
To create a footer template, follow these steps:
-
From the User Menu Panel, navigate to Settings > Templates:
-
Click Create:

-
Enter a name for your template, e.g. "General Footer" and select PDF Footer from the drop-downs:
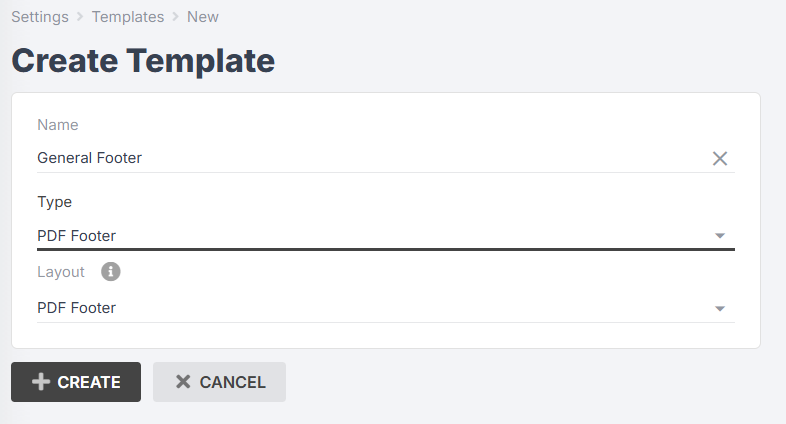
- Click Create again.
-
A preview of your footer template will appear. Click Update:
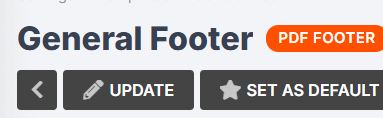

-
The default footer template looks like this:
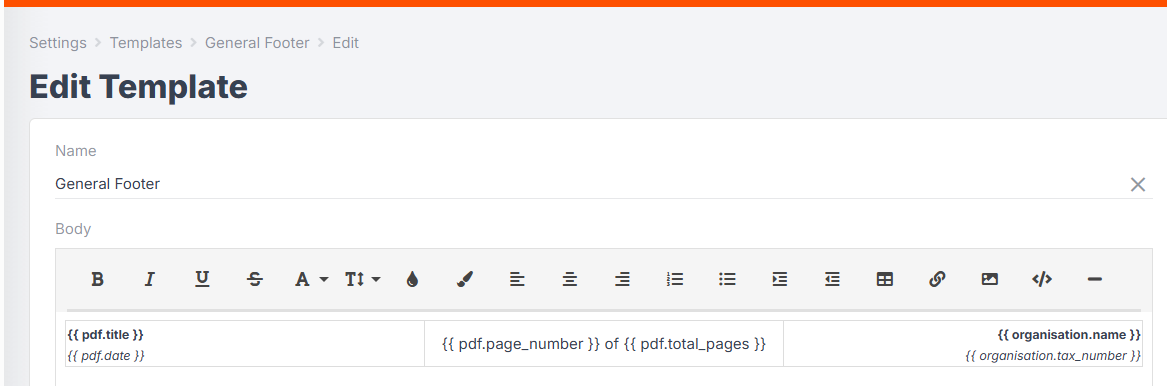
{{ pdf.title }} will autofill differently depending on the type of document. If applied to a quote or invoice, for example, it will use the quote/invoice number. If applied to your target calendar, it will show the date range.
{{ pdf.date }} will autofill with the date the PDF is generated.
{{ pdf.page_number }} will show the current page number, and {{ pdf.total_pages }} will show the total number of pages of your document.
{{ organisation.name }} and {{ organisation.tax_number }} will autofill with your company information.
-
You can customise your PDF header further with any of the following variables:


Please note: As PDF headers and footers are intended to be used across a variety of different templates (e.g. quotes, invoices, forms, item specification forms), they currently cannot contain variables that are specific to a certain template, e.g. {{ quote.number }}.
- Once you are happy with your template, click Preview, then Save Changes.
Now you can apply your PDF header to one of your templates! (See next section.)
Applying Headers and Footers to Existing Templates
Once you have created your headers and footers, you can apply them to your existing templates using the following steps:
Please Note: Headers and footers can only be applied to existing PDF templates, such as Quote, Invoice, and Target Calendar templates.
-
From the User Menu Panel, navigate to Settings > Templates:
-
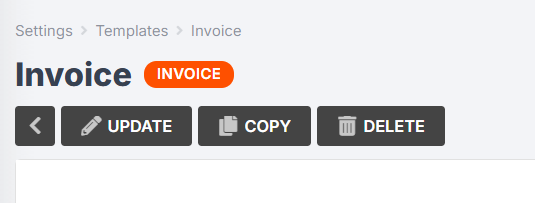
Click into the template you wish to edit, then click Update:
-
Using the drop-downs at the top, select your Header and Footer templates:

- Click Preview, then Save Changes.


Please Note: Although the headers and footers will appear in the preview (as above), you cannot edit them from inside the existing PDF template. You must edit the header or footer templates directly.
Now when you generate a PDF for that type of document, you should see your headers and footers appear!