How to Create and Use Deliverable Checkpoints
Use deliverable checkpoints to track the status of your products and appliances from your workshop or warehouse to your job site!
Examples: "Quality Control Checked", "Loaded on Truck", "Delivered to Site".
In this article:
Creating a Deliverable Checkpoint
Using Deliverable Checkpoints (Office Users)
Using Deliverable Checkpoints (Kiosk Users)
Scanning Deliverables (Kiosk Users)
Creating a Deliverable Checkpoint
To create a new deliverable checkpoint, follow these steps:
- From the User Menu Panel on the left, navigate to Settings.
-
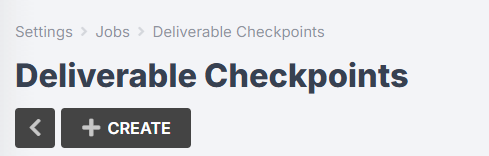
Click Jobs > Deliverable Checkpoints:

-
Click Create:
-
Enter a name (e.g. "Quality Control Checked") and click Create again.
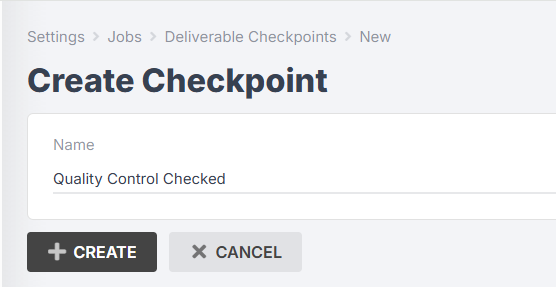


You can click into a deliverable checkpoint at any time to rename it.
Creating Job Deliverables
There are several ways to create your job deliverables. You can populate from job products, populate from job appliances, import from a Jobman CSV, import from Mozaik, or create manually.
Populate from Job Products
- From the User Menu Panel on the left, navigate to Jobs.
- Find the job you want to create the deliverables for.
-
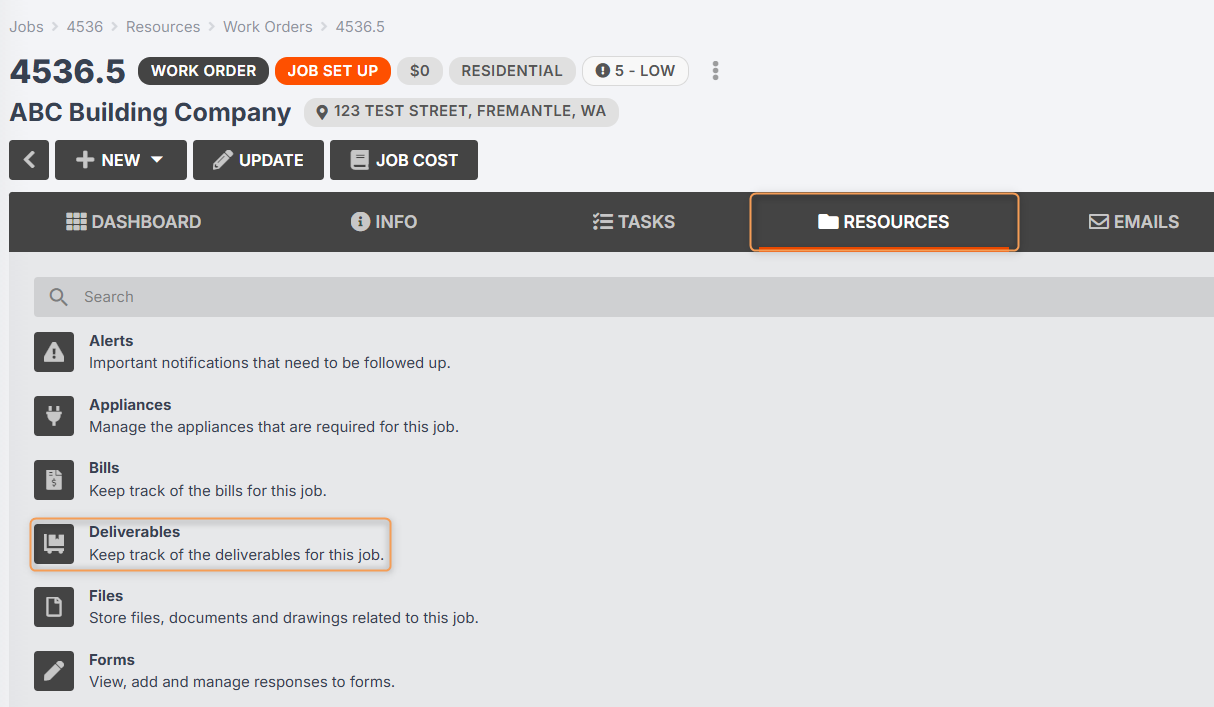
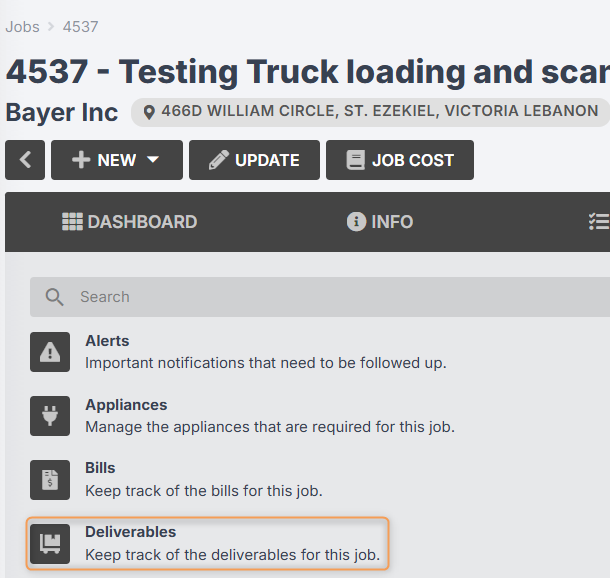
Click on Resources > Deliverables from the job menu bar:
-
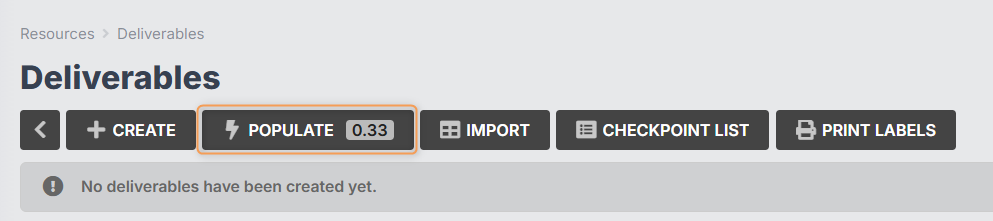
Click Populate:

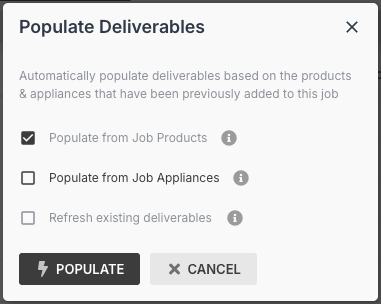
- Tick the box for Populate from Job Products, then click Populate again:


Populate from Job Appliances
- From the User Menu Panel on the left, navigate to Jobs.
- Find the job you want to create the deliverables for.
-
Click on Resources > Deliverables from the job menu bar:

-
Click Populate:
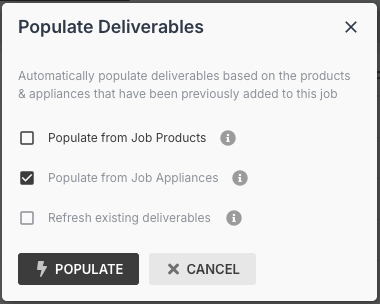
- Tick the box for Populate from Job Appliances, then click Populate again:


Import from Jobman CSV
- From the User Menu Panel on the left, navigate to Jobs.
- Find the job you want to create the deliverables for.
-
Click on Resources > Deliverables from the job menu bar
-
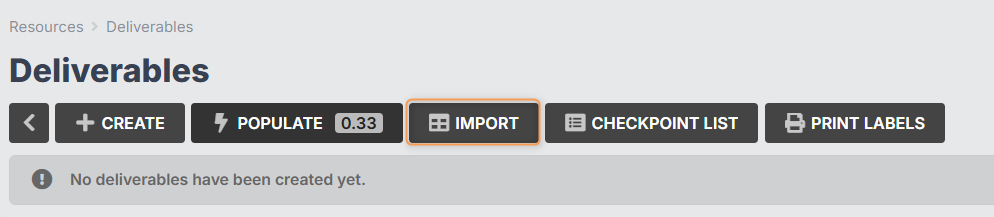
Click Import:
-
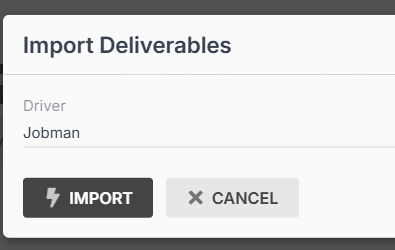
Choose Jobman as the driver, then click Import again:
-
Download the Sample CSV, modify it, then drop it on the file upload box.
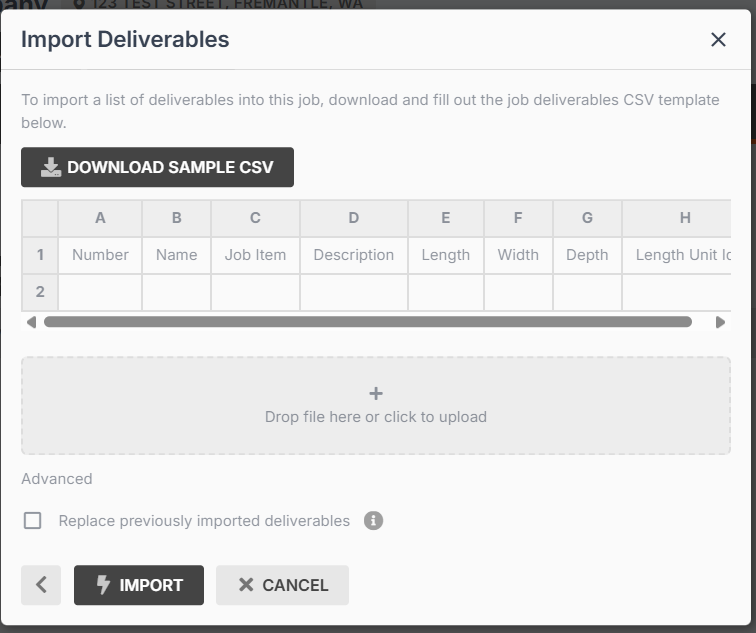
- Click Import again.


Import from Mozaik file
- From the User Menu Panel on the left, navigate to Jobs.
- Find the job you want to create the deliverables for.
-
Click on Resources > Deliverables from the job menu bar:
-
Click Import:

-
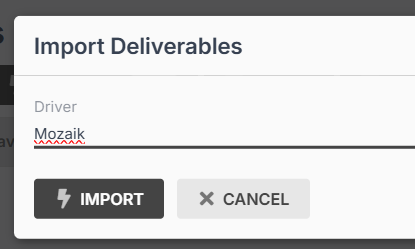
Choose Mozaik as the driver, then click Import again:
-
Drop your Mozaik file on the file upload box.

- Click Import again.


Manually create
- From the User Menu Panel on the left, navigate to Jobs.
- Find the job you want to create the deliverables for.
-
Click on Resources > Deliverables from the job menu bar:
-
Click Create:

-
Enter the Job Item, the name, and any other fields you want recorded:

- Click Create again.


Using Deliverable Checkpoints (Office Users)
When you need to record that certain products/appliances have reached a certain checkpoint, follow these steps:
- From the User Menu Panel on the left, navigate to Jobs.
-
Click on your job number, then click Resources > Deliverables:
-
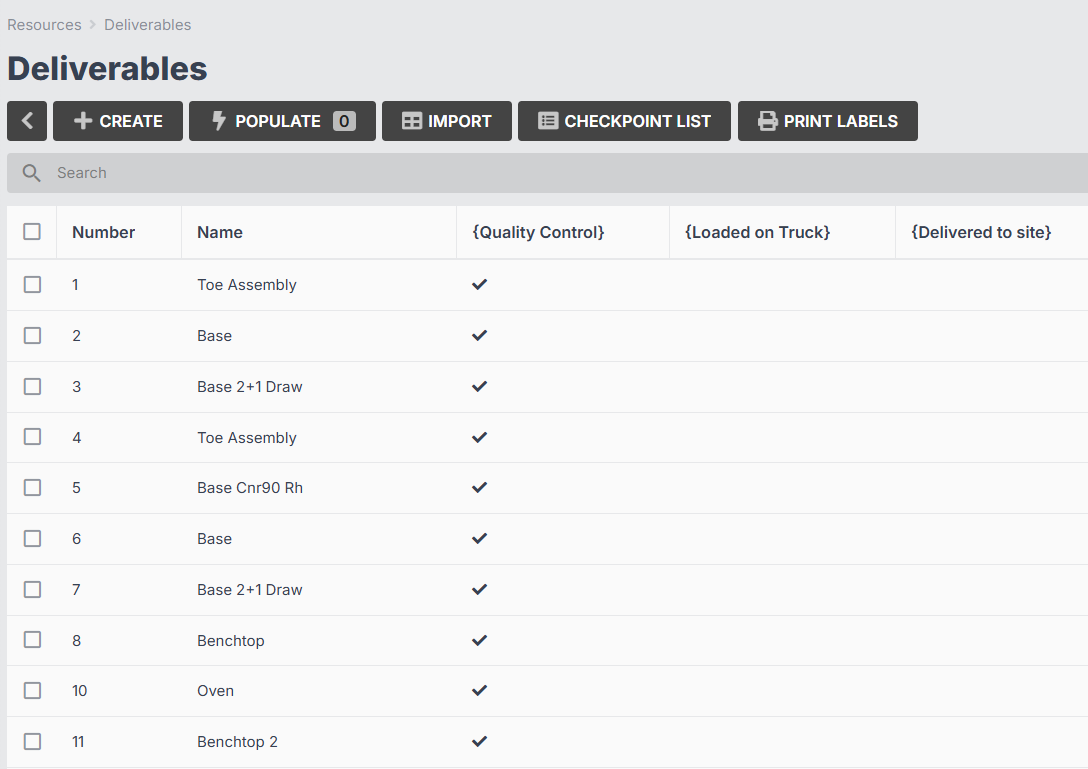
You will see a grid listing all the products/appliances for the job, and which checkpoints each item has reached:
-
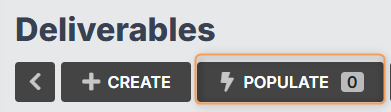
If products/appliances have been added to the job and are not shown in the Deliverables grid, click Populate to add these to the list:
-
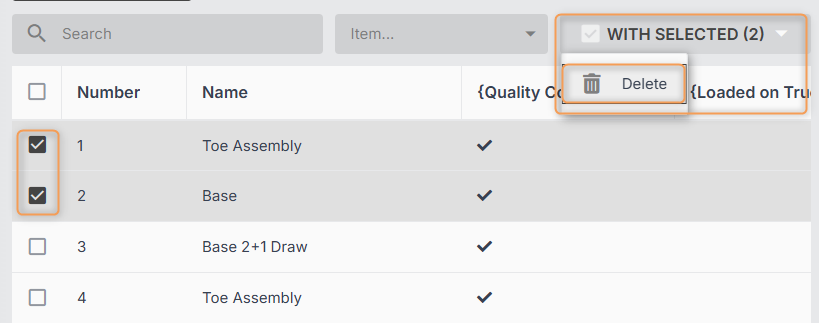
If you need to delete any products/appliances from the grid, simply select them using the tickbox on the left, then click With Selected > Delete:
-
To mark products/appliances as having reached a new checkpoint, click Checkpoint List:

-
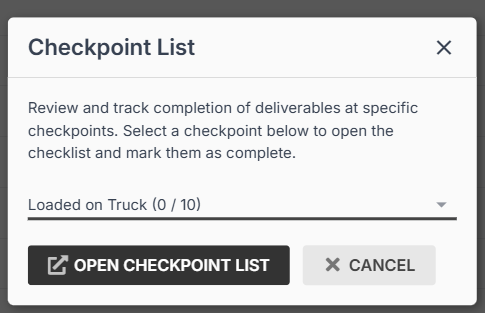
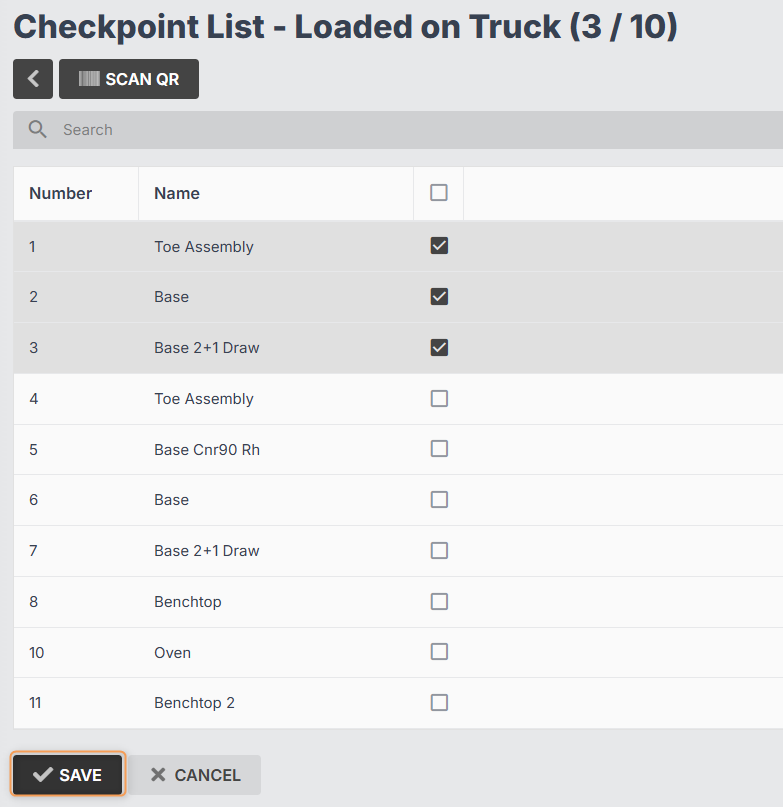
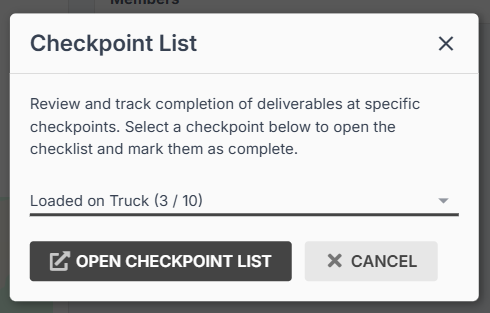
Select the checkpoint from the drop-down, e.g. "Loaded on Truck", then click Open Checkpoint List:
-
Use the tickboxes on the right to select the products/appliances you need to update, then click Save:
-
Your Deliverables grid will now be updated:


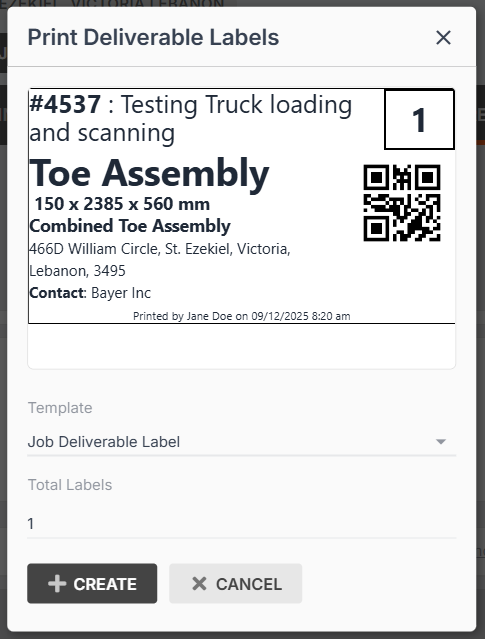
Tip: If you need to create a label for a deliverable item, you can click Print Labels at the top of the Deliverables grid:

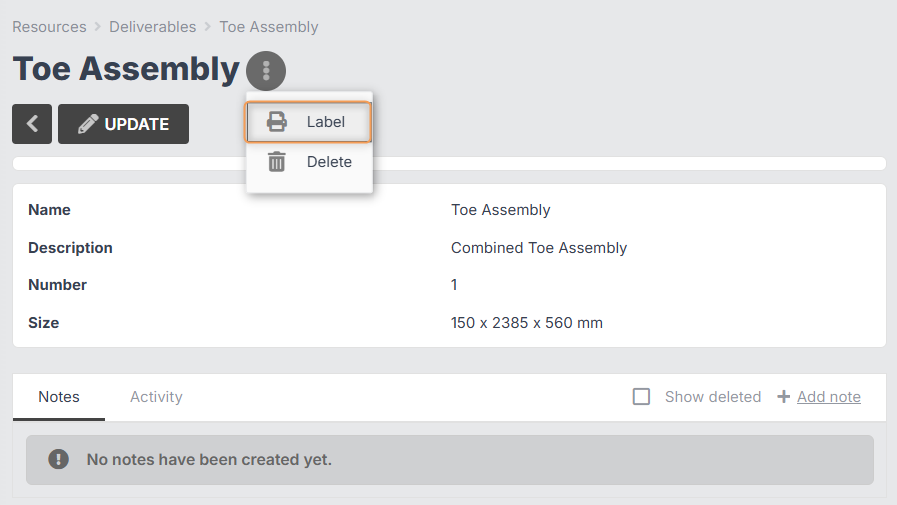
Or you can click into a specific item from the Deliverables grid, then click the three-dot menu and select Label:
Type in the number of labels needed, then click Create:
You can update your job deliverable label template in Settings > Templates. (Learn More)
Using Deliverable Checkpoints (Kiosk Users)
When you need to record that certain products/appliances have reached a certain checkpoint, follow these steps:
-
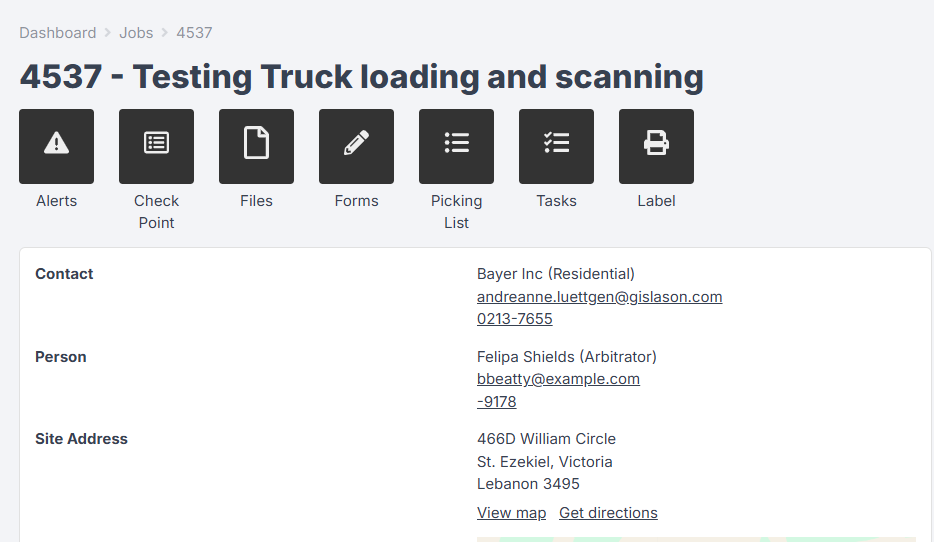
From the Kiosk, click into your job:

-
Click Check Point:

-
Select the checkpoint from the drop-down, e.g. "Loaded on Truck", then click Open Checkpoint List:
-
Use the tickboxes on the right to select the products/appliances you need to update, then click Save:


Scanning Deliverables (Kiosk Users)
You can use your mobile phone to scan deliverables as they pass through certain checkpoints. To do so, follow these steps:
-
From the Kiosk, click into your job:
-
Click Check Point:
-
Select the checkpoint from the drop-down, e.g. "Loaded on Truck", then click Open Checkpoint List:

-
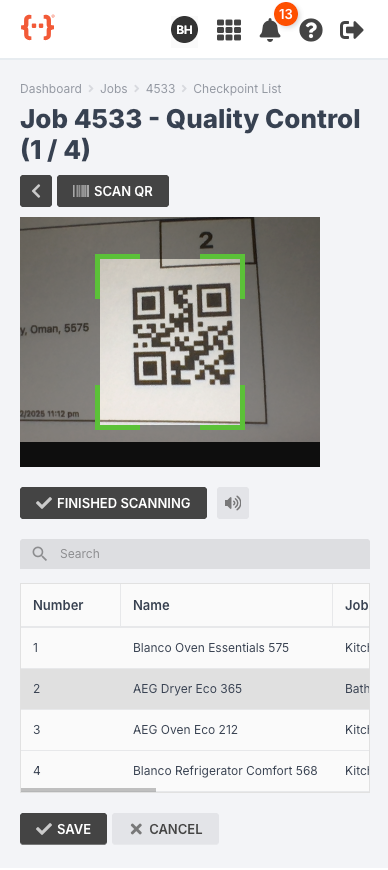
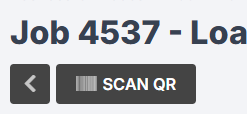
Click Scan QR:
- Hold your phone over each label, and when the label is recognised, it will make a "ding" sound.
- Use the volume button to mute the sound if you like.
- When you are finished scanning all the items, a green tick will appear. Press the green tick to save.